

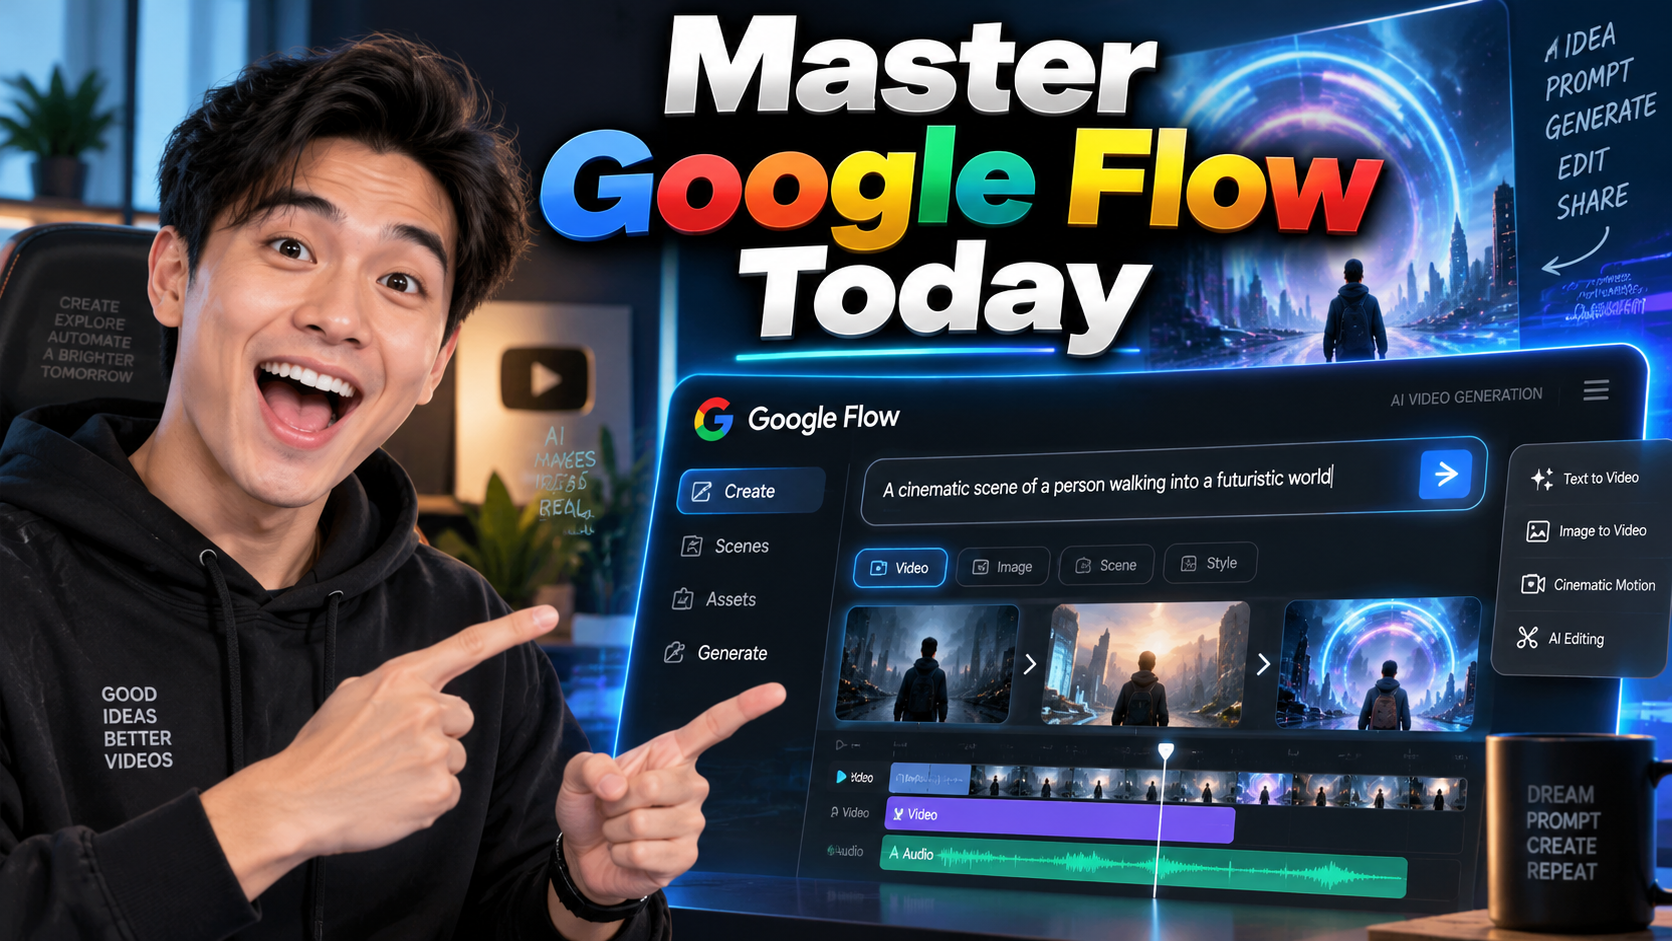
Google Flow is an AI filmmaking tool designed to help creators move from a simple idea to a structured video project. The workflow begins with a prompt and develops into a storyboard, individual AI-generated clips, a complete edited scene, reusable characters, and even AI transformations of existing footage.
This guide follows that demonstrated workflow and turns it into a practical beginner-friendly process. If you want to understand how to use Google Flow for AI video creation without jumping straight into generation, the most important lesson is simple: plan the story first, refine the details, and only then spend generation credits on final video clips.
What Is Google Flow?
Google Flow is presented as Google’s AI filmmaking environment. It combines project planning, storyboarding, AI-assisted video generation, scene editing, character tools, and prompt-based video transformation in one workflow.
Instead of treating AI video creation as a single prompt-to-video action, Flow encourages users to develop an idea in stages. A creator can describe a concept, answer follow-up questions, review a detailed storyboard, refine visual frames, generate clips, assemble them on a timeline, and make targeted changes to individual scenes.
That staged approach is especially useful for commercials, short films, branded content, social media videos, product concepts, educational visuals, and other projects where consistency matters.
Step 1: Start a New Google Flow Project
The tutorial begins at flow.google. After signing in with a Google account, the Flow homepage displays recent projects, featured examples, and an option to create something new.
Select New Project to open the main workspace. The interface shown in the tutorial includes project resources on the left, a central canvas, an AI assistant on the right, and a prompt area at the bottom.
The prompt box is where the creative process begins. Rather than immediately producing a finished video, Flow can ask follow-up questions to clarify the project. This helps define the tone, subject, visual style, and other creative choices before generation starts.
Step 2: Describe the Video Concept Clearly
The tutorial demonstrates the process by creating a commercial for a fictional cookie company. The initial idea is followed by questions about the overall mood, the hero product, and the desired visual style.
For example, the demonstrated project chooses a cozy and warm atmosphere, chocolate chip cookies as the hero feature, and a photorealistic cinematic style.
This part of the process matters because stronger creative direction gives the AI more context. Instead of writing only “make a cookie commercial,” describe the atmosphere, subject, audience, visual treatment, and intended result.
- What the video is about.
- The overall mood or vibe.
- The main subject or product.
- The visual style.
- The type of action you want to see.
- Any important setting, character, or storytelling requirement.
Step 3: Build and Refine the Storyboard
After receiving enough direction, Flow creates a detailed storyboard. In the tutorial, the storyboard includes characters, locations, props, wardrobe, set information, individual frames, actions, camera angles, lighting, and dialogue.
The demonstrated commercial contains six frames. Each frame explains what should happen and how the shot should look.
One of the most useful ideas in the tutorial is to improve the storyboard before generating final video. At this stage, the user is still working mainly with text and planning. Video generation is the part that consumes credits, so taking extra time to refine the storyboard can reduce unnecessary generations later.
Practical principle: fix the concept before fixing the video.
Step 4: Create a Visual Storyboard
Once the written storyboard is ready, Flow can create a visual storyboard that previews how the scenes may fit together.
In the tutorial, the visual storyboard is reviewed and a small branding detail in the final frame is corrected before moving on. This is a practical example of iterative prompting: you do not need to accept the first result.
Review each frame for branding, composition, continuity, objects, text, and visual consistency before generating the final clips.
Step 5: Generate the AI Video Clips
After the storyboard is approved, the next stage is video generation. In the demonstrated project, Flow asks for confirmation because generating all six scenes uses credits. For that specific example, six scenes are shown as costing 90 credits.
After generation, each storyboard frame becomes an individual video clip. The tutorial highlights visual consistency between the bakery, lighting, atmosphere, and overall style.
Consistency is one of the biggest challenges in AI video. When clips look like they belong to different worlds, the final edit can feel disconnected. A well-defined storyboard and consistent creative direction help the generated shots feel like parts of the same production.
Step 6: Edit and Combine Clips into a Scene
The generated clips initially exist as separate shots. To create a complete sequence, the workflow moves into the Scenes area and creates a new scene.
- Select generated clips.
- Preview each clip.
- Trim unwanted sections.
- Rearrange clip order.
- Adjust pacing.
- Select a specific clip and describe changes through the prompt box.
This means Flow is not only a generation tool. It also provides a basic editing environment where the creator can arrange and refine generated footage.
For more advanced post-production, individual clips can also be downloaded and edited in external software such as DaVinci Resolve or Adobe Premiere Pro, as demonstrated in the source material.
Step 7: Create Consistent AI Characters
Character consistency is another major issue in AI-generated video. Flow addresses this through built-in character tools.
In the tutorial, a character named Silas is created by describing him in a prompt. Flow generates the character, allows further edits, provides naming options, and lets the creator choose a voice.
Once a character exists, the creator can reference that character in future prompts using the @ symbol. This is demonstrated by placing the same character into a new scene in a different location.
The result is designed to preserve character identity across scenes, which can make longer stories, advertisements, explainers, and narrative content much easier to produce. The tutorial also shows an option to create an avatar based on the user.
Step 8: Transform Existing Videos with AI
Google Flow can also work with uploaded footage. Near the end of the tutorial, an outdoor walking video is uploaded and transformed by describing a new visual environment.
The example changes the original scene into a snowy winter day. This expands the workflow beyond generating video from scratch: existing clips can become starting points for new environments, visual concepts, or creative variations.
Step 9: Export the Finished Result
When the scene is complete, the tutorial shows a download option for exporting the finished sequence.
Creators who prefer another editing application can instead download the individual generated clips from the media area and continue their workflow elsewhere.
This flexibility is useful because some projects may be completed entirely inside Flow, while others may need more detailed audio work, color correction, transitions, graphics, captions, or final editing in dedicated software.
Best Practices for Better Google Flow Results
- Give the AI enough context. Define the mood, subject, style, characters, locations, and important visual details before generation.
- Treat the storyboard as quality control. Correct the story and visual direction while changes are easier to make.
- Review every frame. Small issues with objects, branding, text, or composition are easier to identify before final generation.
- Use character references. This helps when the same person needs to appear across multiple scenes.
- Edit individual clips. Avoid regenerating an entire project when only one part needs improvement.
- Download separate clips when needed. Use professional editing software when you need more advanced control.
Who Is Google Flow Useful For?
Based on the workflow demonstrated in the video, Google Flow can be useful for content creators, marketers, educators, small businesses, filmmakers, social media teams, designers, and anyone experimenting with AI-assisted video production.
A small business could prototype an advertisement. A teacher could create visual scenes for an educational concept. A YouTube creator could develop cinematic B-roll or story-based sequences. A marketing team could test multiple concepts before investing in traditional production.
The value is not simply faster video generation. The bigger advantage is having planning, generation, consistency tools, editing, and transformation available in one connected creative process.
Frequently Asked Questions About Google Flow
What is Google Flow used for?
Google Flow is used for AI-assisted filmmaking and video creation. The demonstrated workflow includes brainstorming, storyboarding, generating clips, building scenes, creating consistent characters, editing footage, and transforming existing videos.
Does Google Flow generate a full video from one prompt?
The tutorial demonstrates a more structured approach. Flow can ask follow-up questions, create a storyboard, generate separate clips, and then let the user combine and edit those clips into a finished scene.
Does Google Flow use credits?
Yes. The tutorial explains that video generation consumes credits. Its six-scene example displays a cost of 90 credits before generation begins. Credit requirements may depend on the generation being performed, so users should check the confirmation shown in Flow before approving a generation.
Can Google Flow keep characters consistent?
The tutorial demonstrates built-in character tools. A character can be created, named, refined, assigned a voice, and referenced later in prompts to help maintain identity across multiple scenes.
Can Google Flow edit existing video?
Yes. The tutorial shows an uploaded outdoor video being transformed through a prompt into a snowy winter scene.
Can I download clips from Google Flow?
The tutorial shows options to export a completed scene and to download individual generated clips for editing in other software.
Final Thoughts
Google Flow offers a structured way to approach AI filmmaking. The strongest part of the workflow is not simply generating impressive clips. It is the sequence: define the concept, develop the storyboard, review visual frames, generate only when the plan is ready, assemble the clips, preserve character consistency, refine individual shots, and export the final result.
For beginners, this makes AI video creation easier to understand because each stage has a clear purpose. For experienced creators, the storyboard-first workflow can help reduce random experimentation and make generated content more consistent.
If you want to learn Google Flow from start to finish, watch the embedded tutorial above and follow the workflow one stage at a time.
Share this guide with creators, marketers, educators, or teams who want a practical introduction to AI-assisted video production.
